Decide Which Photos Are Worth Colorizing
Start with images that will benefit from color emotionally or practically. Family portraits, wedding photos, military pictures, childhood snapshots, and house exteriors usually respond well because the subject matter is clear and the color choices feel intuitive once the model sees faces, clothing, and background objects.
Photos with heavy motion blur, large missing chunks, or severe scanner glare can still improve, but the first win usually comes from preparing a better source image. For most household archives, the fastest path is to colorize the cleanest version you already have, then decide if any photo deserves more restoration work.
Prepare the Scan or Photo Capture
The best colorization starts before the upload. A clean, straight file gives the model more visual cues for skin tone, shadows, and clothing contrast. If you are scanning a print for the first time, keep the source clean, square, and fully visible so the input is not fighting avoidable dust, skew, or clipped edges.
- Start with the cleanest scan or highest-resolution picture you have.
- Keep the print square and fully visible so the model can read the edges.
- Avoid heavy scanner auto-enhance filters before you upload.
- If the print is dusty or fragile, clean it gently before scanning.
If you cannot scan the print, take the picture in even light and avoid strong reflections. Straight-on framing matters more than dramatic lighting because you want a faithful copy of the original print, not a stylized photo of it.
Quick rule
If you are deciding between a soft phone picture and a clean scanner file, colorize the scanner file first. Better edges and cleaner contrast usually lead to more believable color.
Step-by-Step: How to Colorize Black and White Photos
Step 1: Upload the best source file
Open the PixRestorer colorize tool and upload your scan or photo capture. Start with one family photo before processing a full archive so you can check whether the model matches the look you want.
Step 2: Let the AI build the color version
Once the file uploads, the tool analyzes contrast, faces, hair, clothing, and scene structure to generate a natural-looking color version. Most results come back in about 30 seconds, which makes it practical to test a few different pictures from the same batch.
Step 3: Compare the result before you move on
Look at the preview instead of downloading immediately. The right output should still feel like the same photograph, only more alive. You want believable skin tones, stable background color, and details that look clearer rather than artificially painted over.
What to Check Before You Download
Colorization is fast, but a quick review saves wasted credits on a larger batch. Zoom into the file and look for consistency around faces, hands, collars, and areas where the original print had weak contrast.
- Faces should look believable, not over-smoothed.
- Clothing, uniforms, and backgrounds should stay consistent across the frame.
- The restored file should keep enough detail for printing or sharing.
- If the original scan is soft, upscale after colorizing instead of rescanning from the exported image.
If one photo in a batch looks wrong, that does not mean the whole archive will fail. Older family photos vary a lot by paper quality, camera exposure, and scanning method, so judge each one on its own merits.
Evidence check
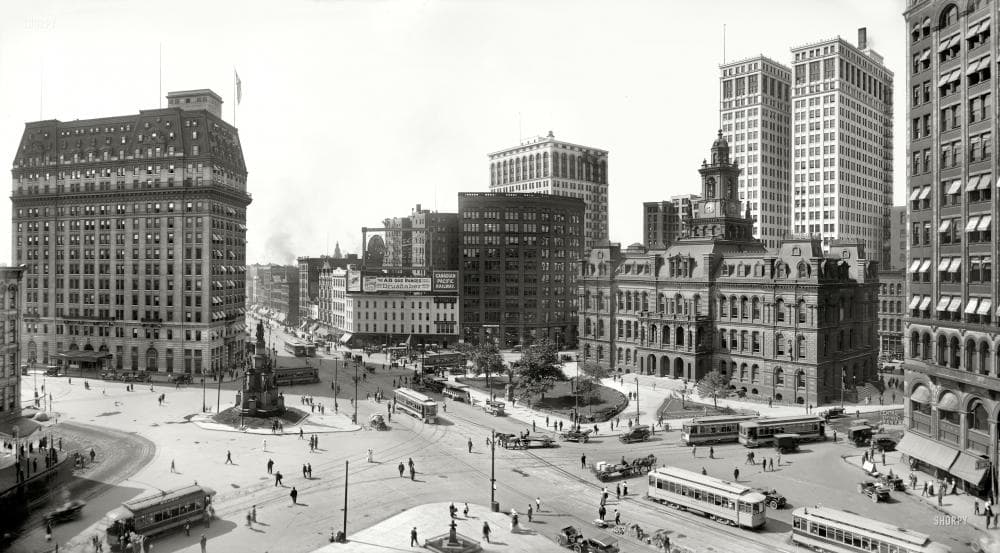
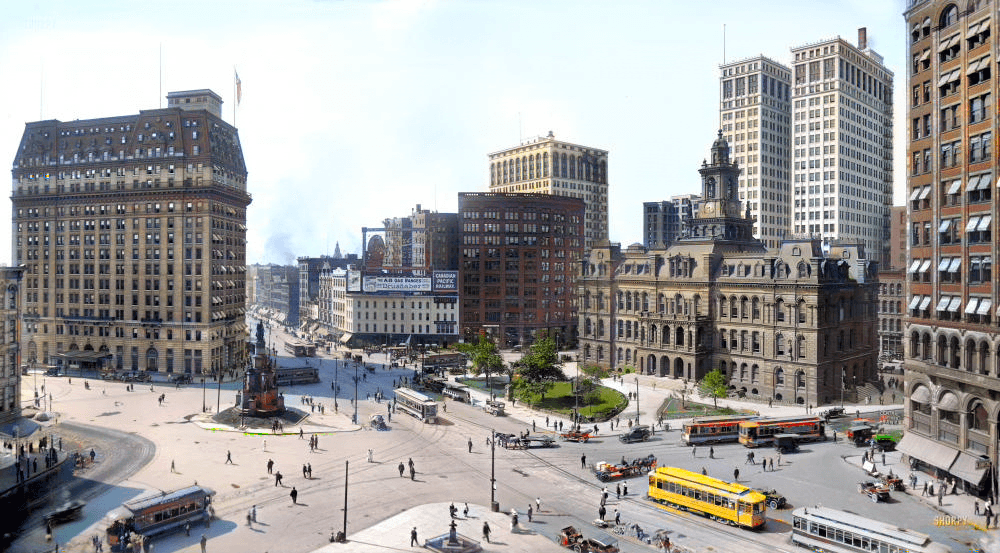
Compare one real before-and-after before you run a batch
Use this as your benchmark. Good colorization should keep the original structure of the print while adding believable tone and separation.
If you want more examples, open the full examples page.
When to Upscale or Buy More Credits
Once the colors look right, decide whether you need a bigger final file. If the colorized image is mainly for sharing with relatives, the standard output may be enough. If you want to print it, frame it, or crop in closer, upscale after the color pass so you preserve the improved detail.
New users can test the workflow with free credits. If you are working through a family archive, compare the options on the pricing page before you process the full set. That keeps the tutorial intent separate from the purchase decision while still giving you a direct next step.
Frequently Asked Questions
Can AI colorize black and white photos realistically?
Usually yes for family portraits, street scenes, and clean scanned prints. The result is an informed reconstruction, so exact historical colors still need family knowledge or reference photos if precision matters.
Should I colorize the scan or the original print photo from my phone?
Use the scan when possible. It is usually straighter, cleaner, and easier for the model to interpret. A phone capture can still work if the print is stuck in an album or too fragile to scan.
Can I repair scratches before I add color?
Yes. PixRestorer can improve common old-photo damage during the same workflow, so you do not need a separate manual editing pass first for light repair.
Ready to colorize your photo?
Start with one black and white picture, review the result, then decide whether to run the rest of your family archive.